
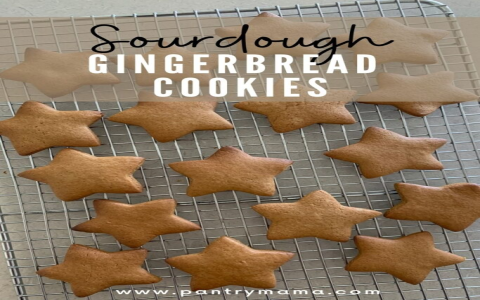
Well now, if you ever wanted to make some good ol’ gingerbread, you gotta know how to work that gingerbread mold proper-like. It ain’t too hard, but you gotta do it step by step, just like we did back in the day when we didn’t have fancy gadgets and things. So, let me tell ya how I go about makin’ gingerbread using one of them old-fashioned molds. And you don’t need to worry none about gettin’ it perfect—just do the best you can, and it’ll come out tasty no matter what!
First things first, you need to get yourself a good mold. Now, you can find these molds that’ve been passed down through generations, or you can buy one if you don’t have one yet. I’d say go for a bold, well-carved mold, something that’s got a nice deep pattern on it. Those ones make the best gingerbread. The bigger molds are usually the ones we used for honey cakes or gingerbread back in the old days, so they work mighty fine for this too.
Now, once you got your mold ready, you gotta make your dough. For that, you need some plain ol’ flour, sugar, butter, eggs, molasses, and spices like cinnamon, ginger, and cloves. You mix it all together in a big ol’ bowl, just like you would for any other dough, and make sure you get it all well combined. I like to use my hands for this, feels like it mixes better, but you can use a spoon if you prefer. Once you got your dough all nice and ready, let it rest for a little while. No rush, just let it settle and come together.
Now, you’re gonna roll out your dough on a clean surface, but don’t forget to flour it first. You don’t want that dough stickin’ all over the place. Roll it out nice and flat, about half an inch thick, maybe a little more, depends on how deep your mold is. If it’s a shallow one, you might not need it so thick. But if you got one of them deep molds, roll it thicker so it fills it right up.
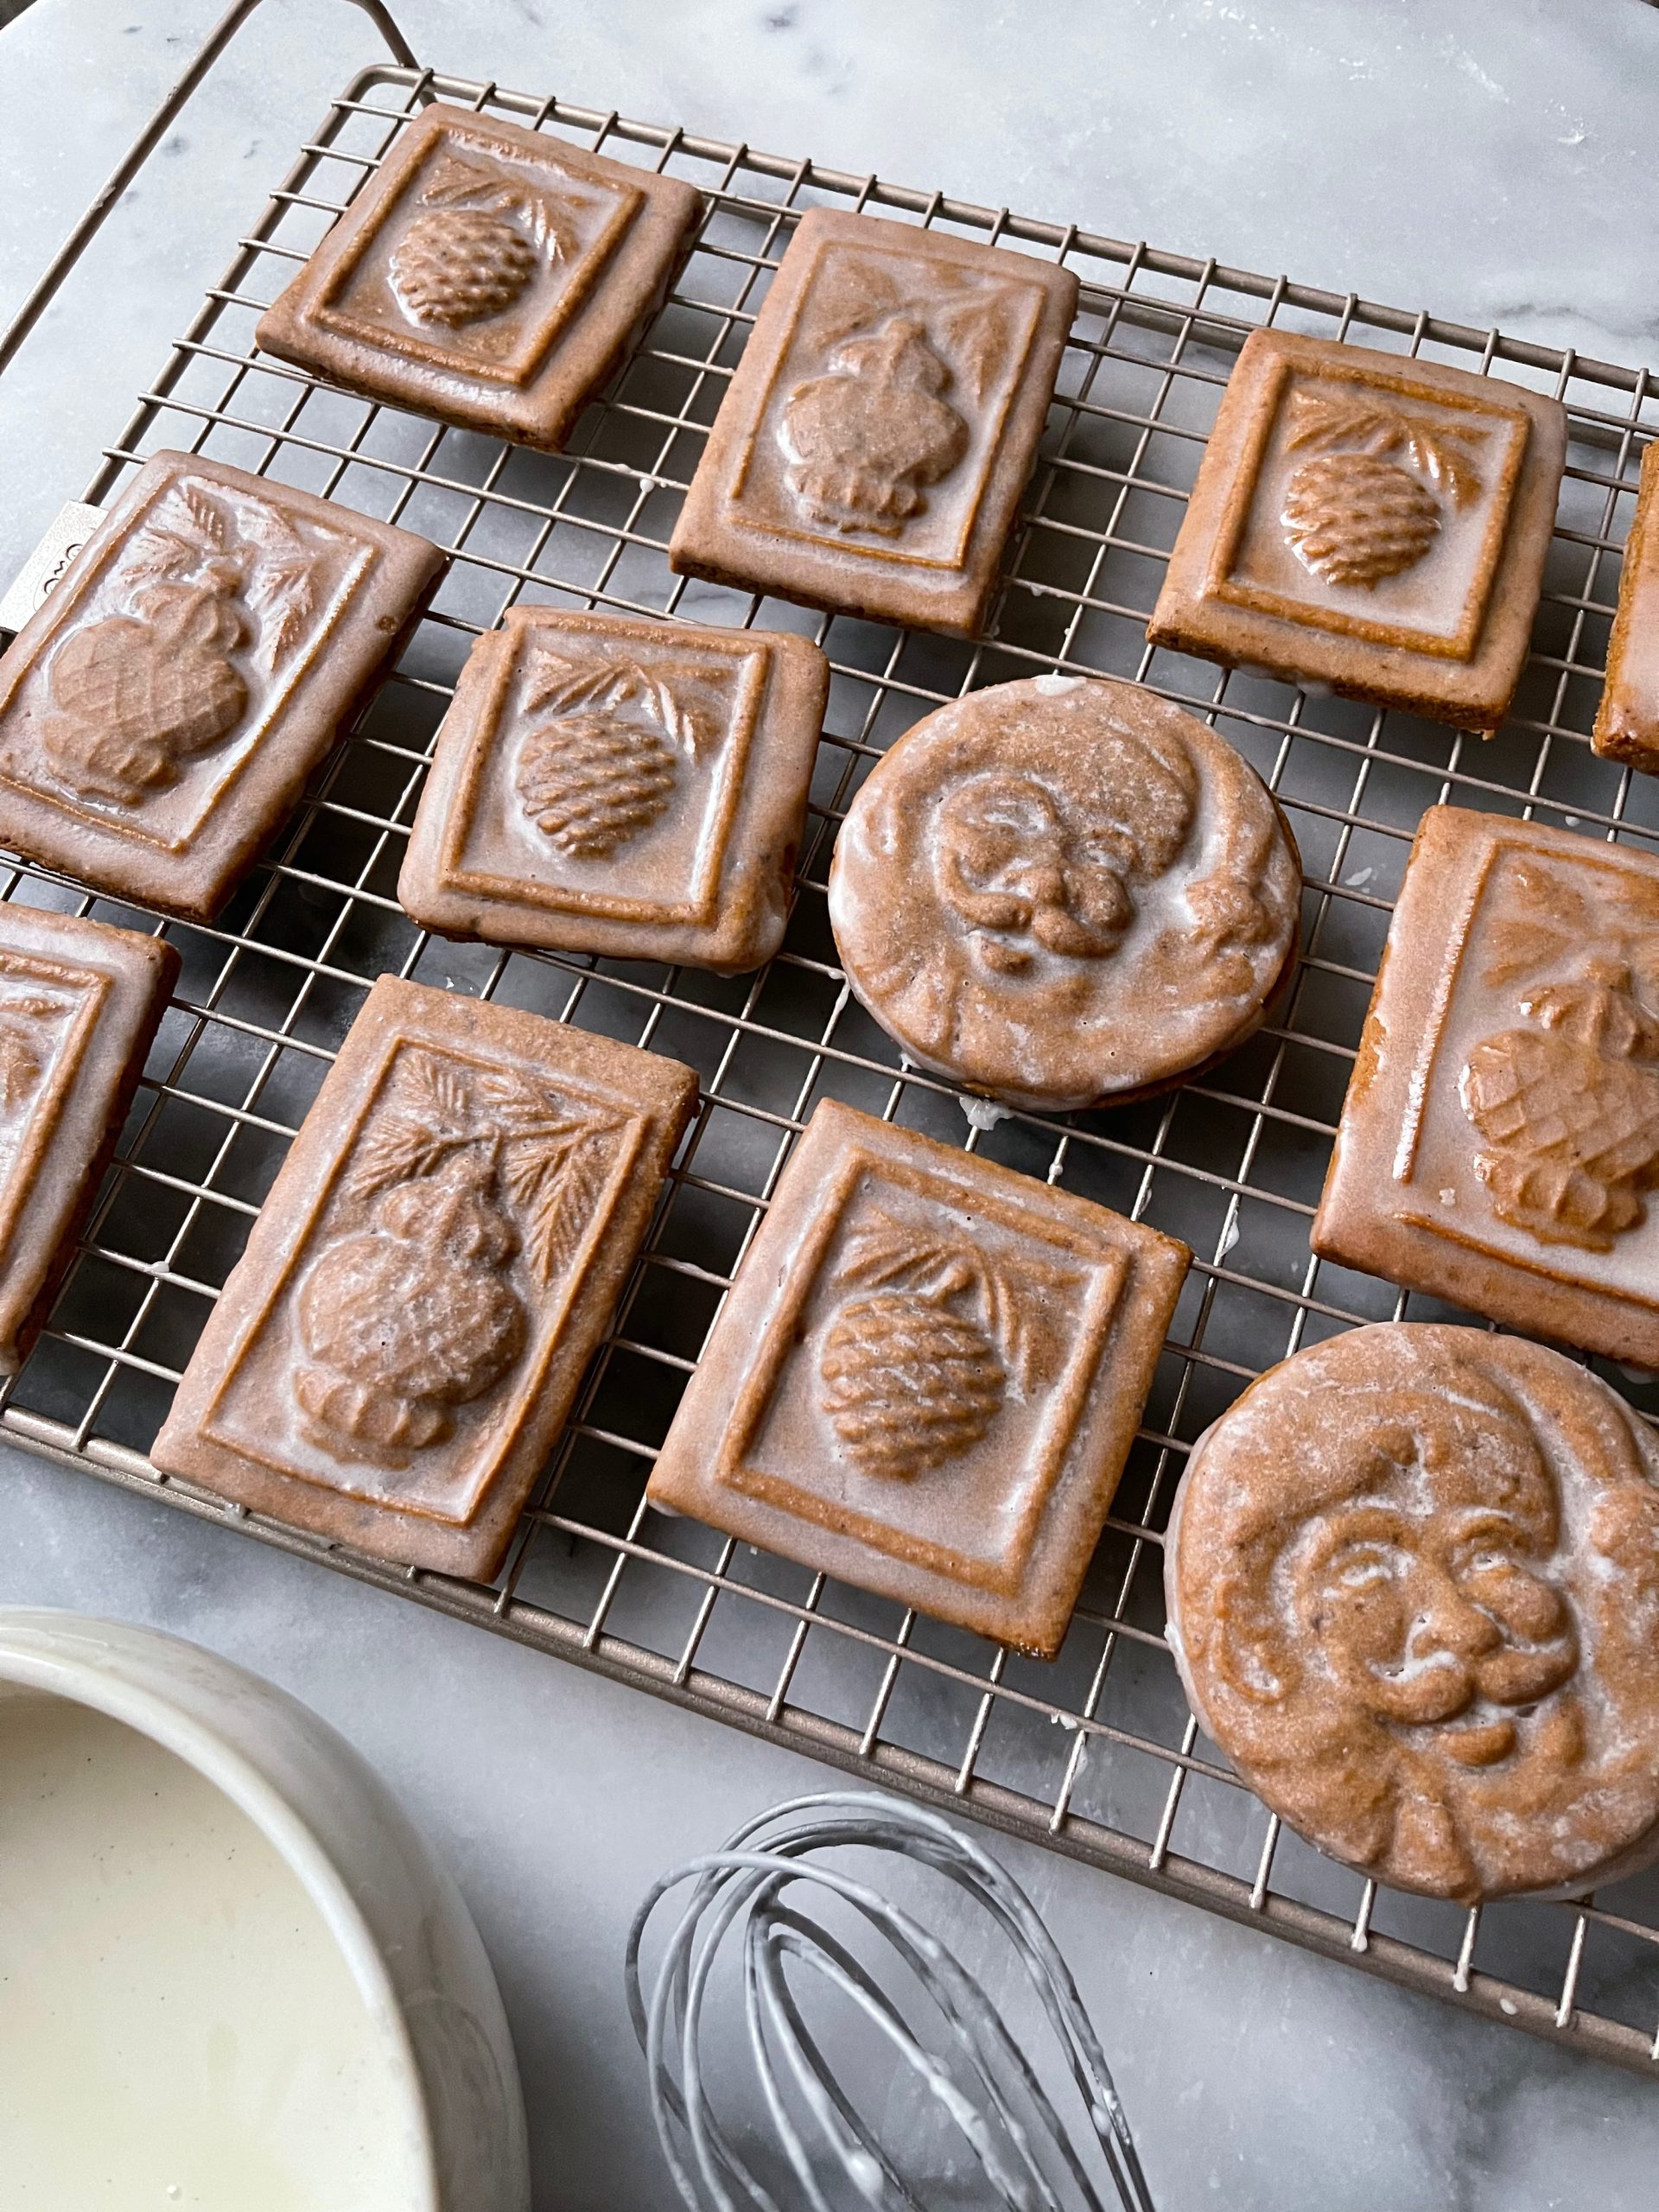
Once your dough is rolled out, grab your mold and give it a little flouring too. You don’t want that dough stickin’ to the mold either, that’s for sure! Use a pastry brush or your fingers to dust the inside of the mold. Then, press the dough firmly into the mold, making sure it gets all the way into the corners and crevices. Don’t rush, take your time with it. Once it’s pressed in good, lift the mold straight up. The dough should come away with the pattern left in it.
Now, if you’re usin’ one of them cast iron molds, you might want to spray it with a bit of cooking spray, or grease it up real good. This’ll help the gingerbread come out easy once it’s baked. You don’t want it stickin’ and breakin’ apart, that’d be a mess! Preheat your oven to 350°F (that’s about 175°C if you’re not from around here). When it’s hot enough, pop your gingerbread pieces onto a baking sheet, and make sure there’s enough space between ‘em so they don’t get all tangled up together.

Let it bake for about 10-15 minutes, but don’t go walkin’ away from the oven too far. Keep an eye on it! The gingerbread’s ready when it’s golden brown and starts to smell all good in the kitchen. When it’s done, take it out and let it cool on a rack. Don’t try to move it too soon or it might break! Once it’s cool, you can decorate it if you like, maybe with some icing or candy, or you can leave it just as is—either way, it’ll taste just as sweet.
So there you have it, a simple way to make gingerbread using one of them old molds. It don’t take no fancy skills, just a little time and patience. And when it’s all done, you’ll have yourself some mighty fine gingerbread to share with the family. Enjoy!
Tags:[gingerbread mold, gingerbread recipe, homemade gingerbread, baking gingerbread, gingerbread dough, baking tips, holiday treats]


